

Rollake10
-
Posts
52 -
Joined
-
Last visited
-
Days Won
4
Content Type
Profiles
Forums
Events
Gallery
Blogs
Posts posted by Rollake10
-
-
Thanks a lot parrot!
I'm not completely sure can I bend the bar anymore without it losing its spring. Also I have to call to a friend of mine to make sure this is legal here in Finland. Only thing I think might be illegal is to drill holes to lcas.
When I get the info I'll decide if i try to bend it or do i use the bracket idea i got yesterday as it doesn't need any new holes made.
Do you think it will have somekind of geometrical issues if the bar is 5-6cm forwards of the control arm? Stiffnes is not a problem in the design i have in mind.
-
Long time since I last posted. I'm currently serving my time in the finnish defence forces, so I haven't drove at all. Corolla is still working fine and I'm waiting for summer when I can cruise it hard again.
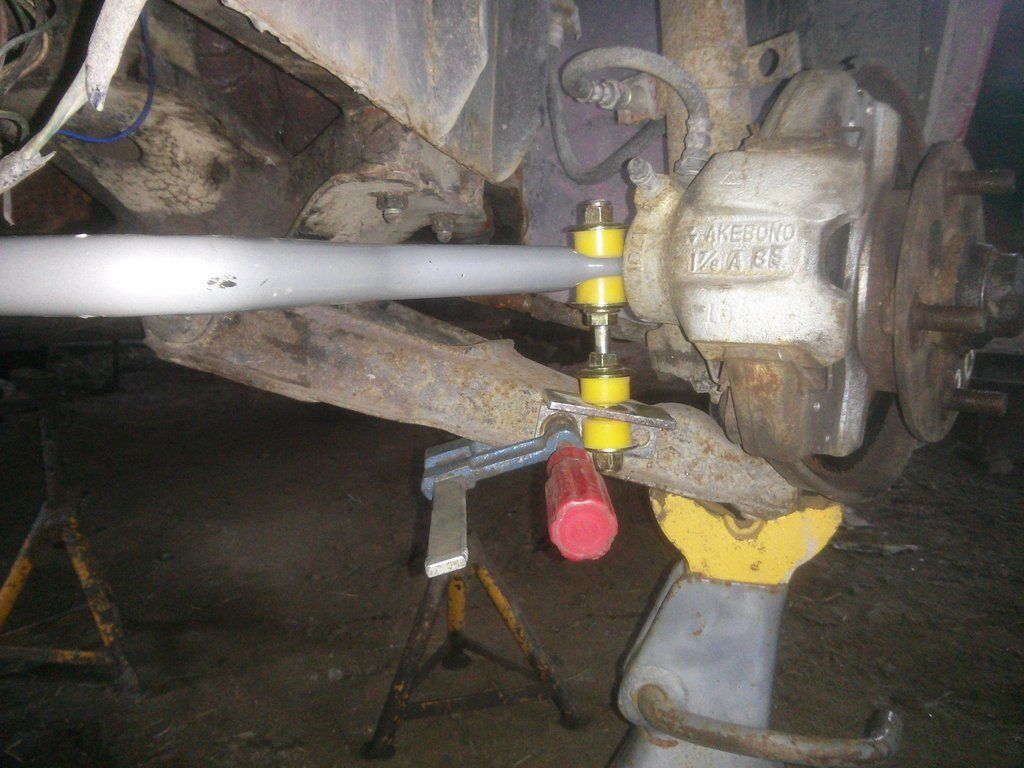
I'm having a easter holiday atm and thought I should finally assemble the sway bar! But obviously it does not fit as it is. I'm just wondering how have you guys solved the problem with the bar hitting brake calipers? Thought of making a new L-brace for the dog bones, but just wondering if anyone has a better solution.
Hope I could upgrade the car a bit and give you guys updates again!
-
 1
1
-
-
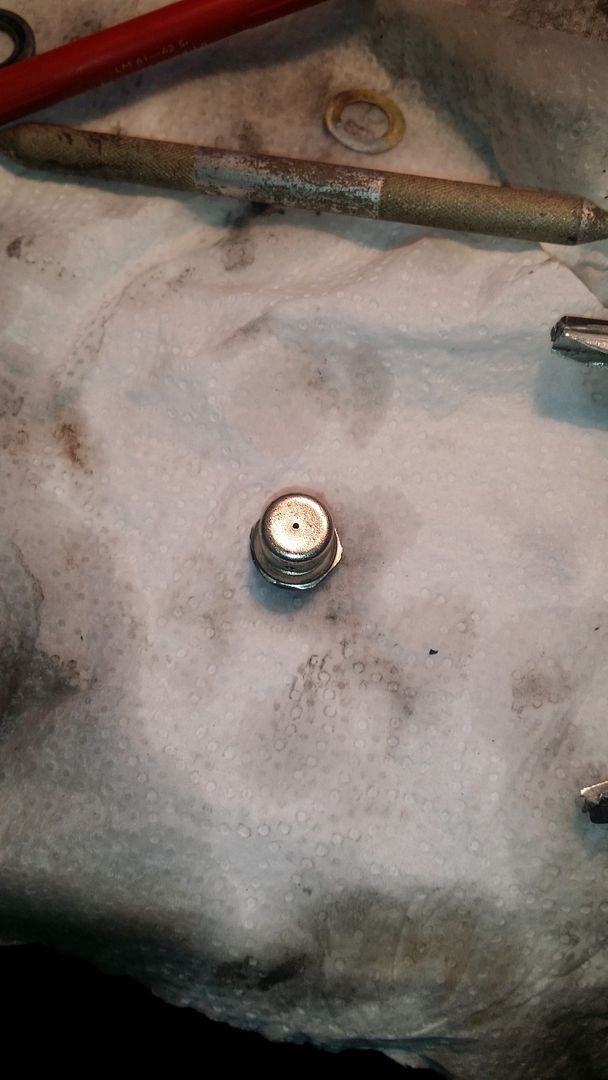
So I drilled that hole clear and took the vent away as I've understood that it'is no good for disc brakes. I assembled my brakes and bled them for a very long time. There was no air coming, but for some reason there was not coming as much fluid from rear than from front. Pedal still feels spongy and it goes to floor with relatively small force. Can there be air bubble stuck in the rear brake line? Or did I mess everything up by taking the rubber flap away from the vent?
-
Hi guys! Its been a long winter but now I'm back in the garage trying to get Corolla ready for spring. I've already fixed the idle and other carburettor issues by building a new carburetor with new parts, idle compensator and proper float adjustments.
Now I'm fixing the brakes as Jono said it would be best to rebuild the old one. I should had bought a new master cylinder when Parrot linked me one but its too late to cry now.. :P
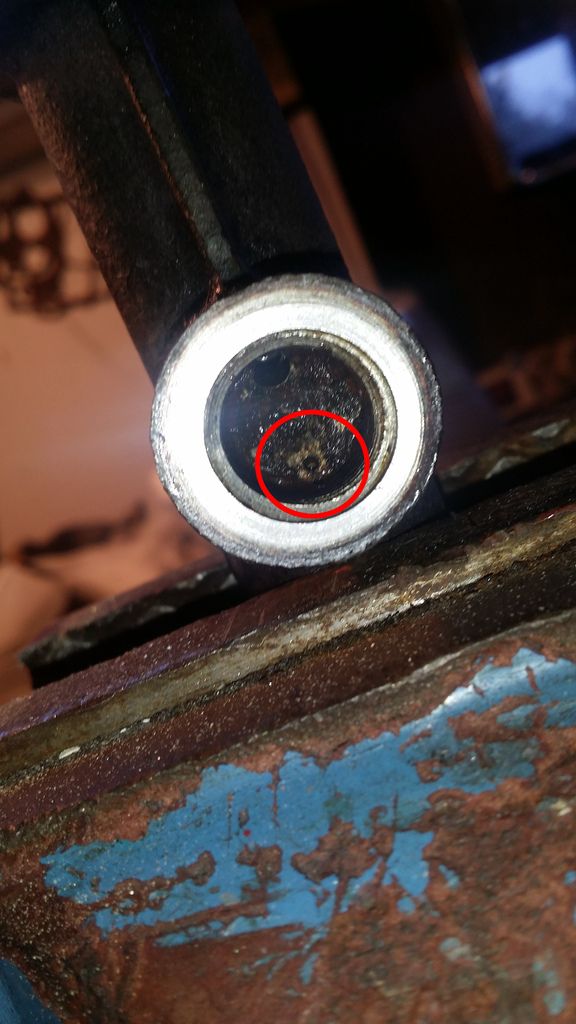
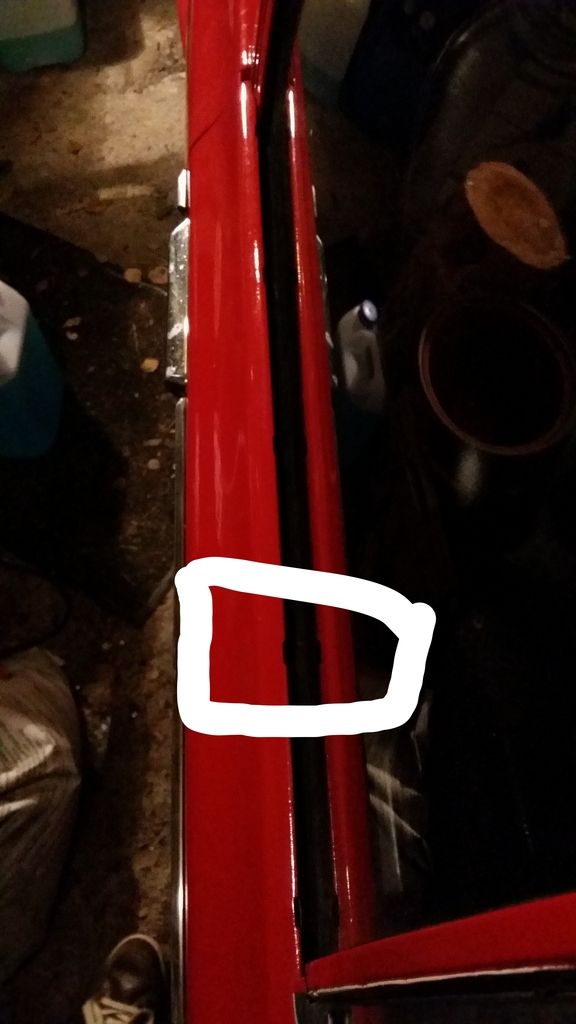
Does anyone know if that (inside red ring) should be a hole trough to master cylinder? It's currently ~3 mm deep, but it feels like it has a solid bottom.
Is this that vent that keeps pressure for drum brakes? If so, should I drill a 1 mm hole in it as I have disc brakes?
-
Hi guys!
I've been looking to replace my master cylinder on my ke10 as it's leaking and it gets stuck sometimes.
Many people say that rx3, rx4, galant and pajero MC would fit.
Could someone link one that would fit as theres always multiple different cylinders available on ebay?
-
So apparently I don't have any of those clips anymore.
http://i1123.photobu...zpslvnbnhqc.jpg
here is the spot where the clips are supposed to be. I need all of them, total of 10 :/
-
Also, when you say the brakes get stuck, is it all of them or just one? Could be a caliper or wheel cylinder that is the problem. I thought you had changed your master cylinder.
It's all of them. The master cylinder gets stuck. I was supposed to but I decided to go with this till winter.
Yeah Tore, our other cars wont fit to the garage so my dad let me use it :)
I'm on my phone now. I'll post the pic of the clip soon
-
Hello everyone!
Corolla is now in the garage waiting for spring. Eventought I'm waiting for spring so I can drive again, winter is great time for upgrading the car.
Stuff that I'll try to make this winter:
-Attach last chrome lists
-Put the swaybar to its place
-Find some clips for door window seals (anyone has?)
-EFI and megasquirt for fuel injection and ignition. (If I can't find used MS for cheap I'll just go with a carby rebuild and build the EFI next winter after my time in army)
-Make door panels
-repair couple of spots from wheel arches that got some surface rust
-change my master cylinder as brakes get stuck once in a while
We'll see if I manage to do all this :) But please if anyone knows where i could get the clips for the seals PM me or comment here!
Cheers,
Teemu
-
Hi!
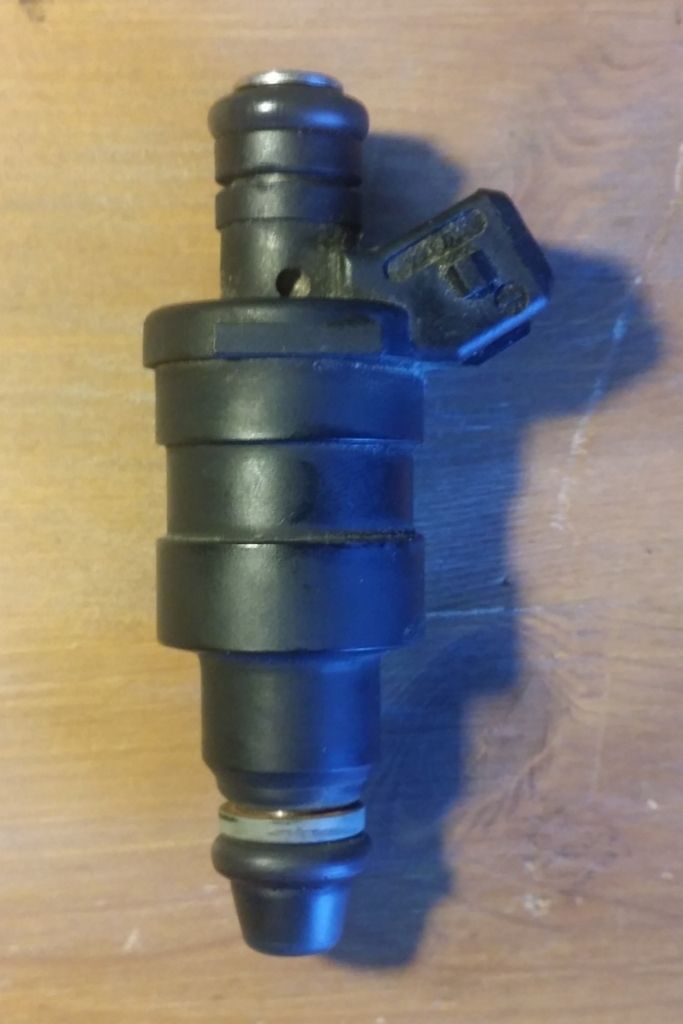
Does anyone know if Weber IW 054 Injectors fit to the Bosch type bungs? Atleast Weber has 14mm O-rings in both ends. I'm planning on building a manifold for EFI setup to my 3k and can't find any other weld on bungs than for Bosch.
Heres a pic of the Weber injector:
and these are the bungs I'm planning to use:
-
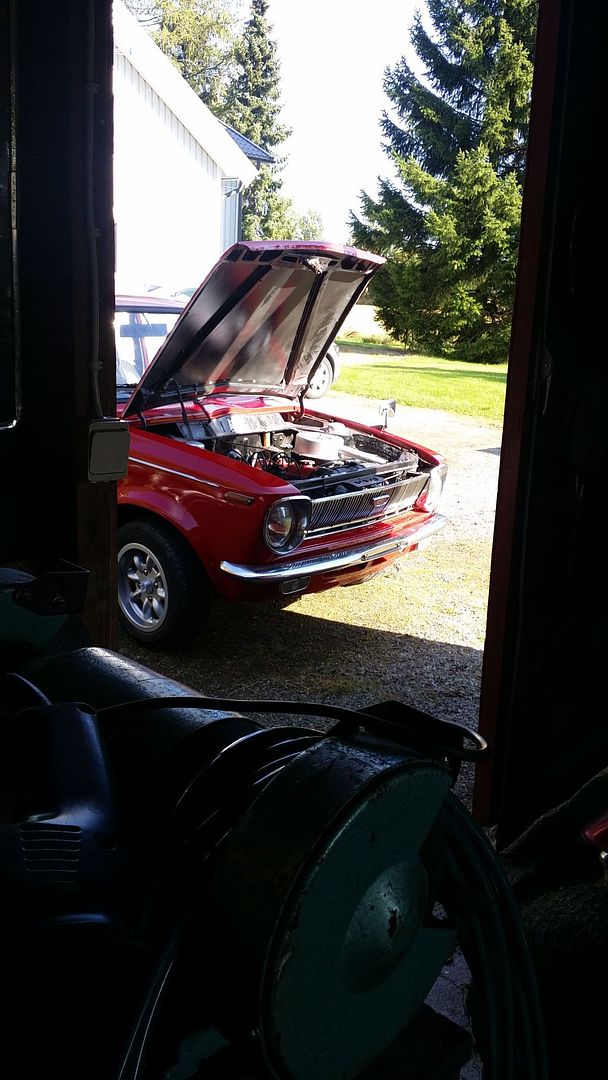
Last Thursday I went and got the temporary license plates for friday so I could drive the car to the registration office. When my school ended I ran and finished all the little things that were missing and were important for registration. I worked the whole day, late till night and I was exhausted but hopeful to get the car registered.It was good that I was exhausted as otherwise I couldn't had slept because I was just thinking did I finished everything.
So the friday mornings sun rose and I was full of excitement. Today would be the first day I would drive the car for real. So I set everything up and the car was ready to go.
http://i1123.photobu...psa05wukr3.jpeg
At friday my school ended at 14 o'clock and the rego was at 15 so I quickly cycled to home and gave the car a quick wash and a last check that everything is fine.
http://i1123.photobu...zps952z2dcx.jpg
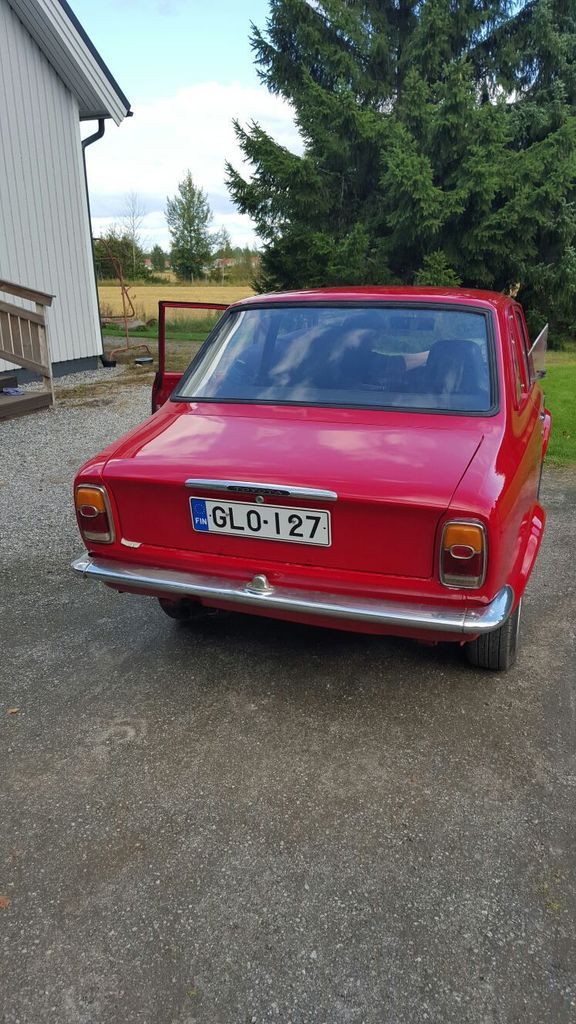
Off it went to the rego center and the car passed without notifications! I was the happiest guy on planet at that moment. Got some new plates on it and they fit okay'ish.
http://i1123.photobu...zps0fctoiuj.jpg
Ofcourse as soon as I got the plates on couple of my mates called me can we go for a cruise. 30-40km's of fun cruising with friends on a sunny day ended to a dead fuel pump in middle of nowhere.. but hey! It was fun for a while.
http://i1123.photobu...ps35frjls2.jpeg
So we got the car home and It was late so I just decided to leave it there. The next morning I went to a local part shop and bought myself a new electronic fuel pump and it ran even better than it used to! This could only mean even more cruising.
http://i1123.photobu...psbxjozs2i.jpeg
With the new fuel pump on I drove a solid 200km trip just for the fun of it and had no problems at all, heres the car at nice sunset after 200km's of hard driving.
http://i1123.photobu...zpsdavfwwgr.jpg
So even tought there is still many little details to do and the car is shaking a lot when launching I just want to enjoy the car for the last sunny days, cruise with my friends, have a little road trip, before I'll start working with the car again :)
-
1
-
-
Good news!
I got a Ford Transit 35A alternator for free from local scrapyard and it works fine without any problems! Now I'll just make a new gas pedal and find some mirrors so I can still drive it a little before winter :)
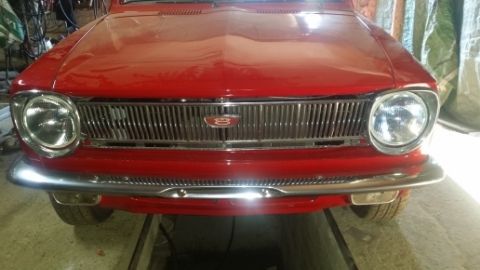
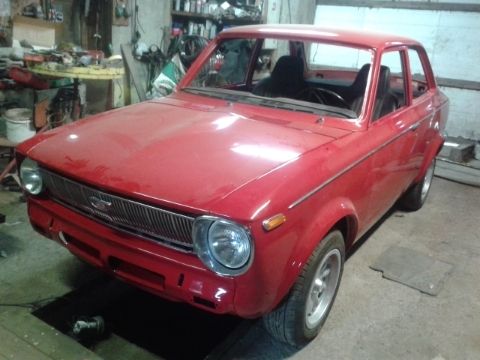
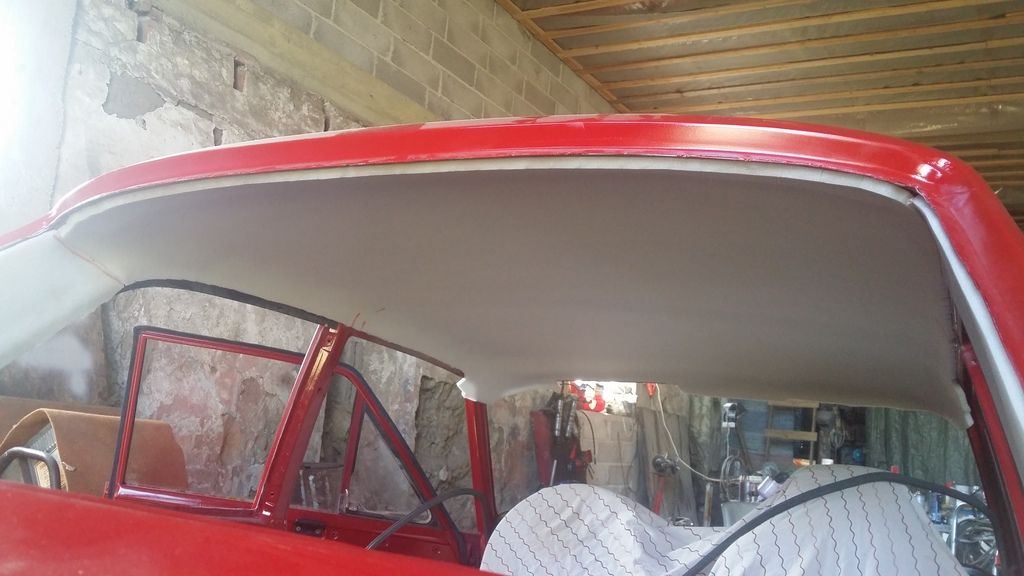
Heres just couple of pictures of the car now.

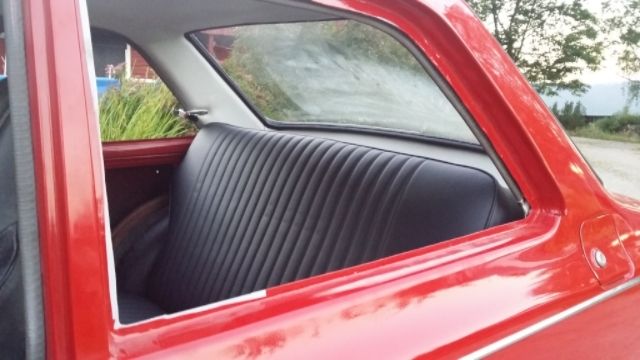
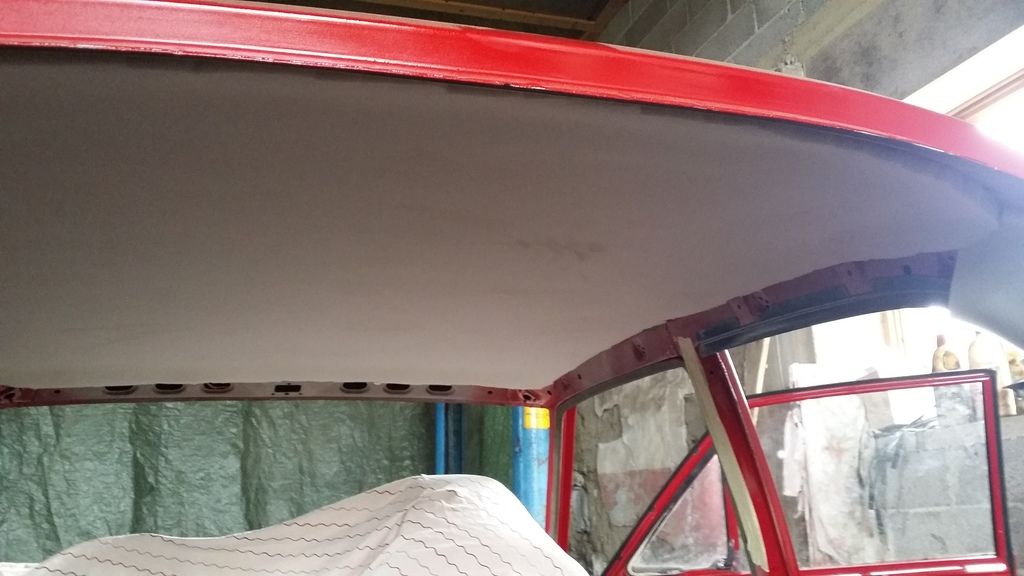
I think the roof and c-pilars look good :)
Interior has got a little dust on it.. will be nice as new when cleaned!
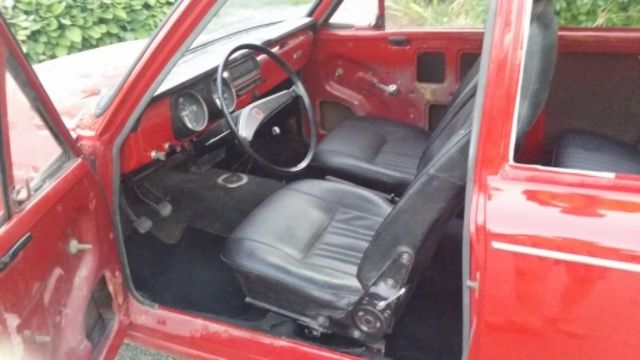
Door panels and few other details have to wait due to small budget. The car will be finished eventually :)
-
New alternator, new regulator and all wires checked. Worked for 3 minutes.. wohoo!
E: I've decided to go with a alternator that has voltage regulator built in as then there's nothing that could broke those alternators anymore. Does anyone have any ideas from wich car could I get such alternator that would fit? :)
-
Does anyone know what is the "extra" blue wire coming from the voltage regulator? Still having problems with charging.
This is the second alternator in month, they both have died when the car has not been running or when starting.
-
False alarm! The Cigarette lighter was in wrong wires so thats why it popped the fuses.. still don't know why the alternator doesn't work.
-
Wires checked,didn't see anything anusual. Now my alternator broke again. Does anyone have a clue of whats going on?
-
My horn fuse pops immediately after I put it there. I have checked horns, brake lights, Indoor lights etc. Which connects to the same circuit as horn fuse.. I'm thinking that some wire has to be broken and touching ground.. does anyone know if theres a typical spot for wires to break or if I should check something else.
I'll post pics of the done interior and car later today
-
Low RPM's for sure! Cruising 110kph in idle :D
Man.. wish I had a 2TG! Are they super rare in Norway like they are here in Finland?
Nice work on the car like always!
-
No worries it did not slow me down at all :)
(I'll just link all the photos as photobuckets editor doesn't work and the photos are too big..)
Roof is coming out nice! I first glued 3cm thick foam to the roof like this:
http://i1123.photobu...zpsqynoioma.jpg
next was 1cm thick foam wich I used to make the shape of the roof:
http://i1123.photobu...zpsfktumc47.jpg
If you are interested you can go to my photobucket and watch more pictures, but basically I measured and centered the large foam pieces to the roof and then glued them to roof and cut them to shape.
Ofcourse I could not had done this all by myself, so thanks to my friend Olavi and my girlfriend Jenna :)
Today my girlfriend and I are doing the c-pilar vinyls and maybe trying to do the whole roof. I'm so excited because after the roof is done I can just put the windows to place and register the car! And I tought that I wouldn't drive this car this summer :P
By the way I bought this boot lid rubber from thailand (I know they are not good, but I'll give it a try) how are you supposed to assembly it? glue it on or something?
http://i1123.photobu...zpsqyobwc55.jpg
Is this even how it is supposed to be?
-
So Corolla is finally working good. Had to change the alternator today. Idle is around 1000-1200 rpm but I'll try to get it even at 1000. In the end of the video you can see tomorrows project.. the roofs upholstering. Wish me luck as I just twisted my ankle really bad! :oops: Atleast I have friends helping me. We'll see how the roof comes out as we're doing it bit different and unproffesional style.-
1
-
-
From what year of an Galant did the brake master cylinder fit to ke10? How much longer is the MC? (LHD problems..) Is that MC boosted?
The original is leaking even tought I changed all parts inside it..
-
Now I just need to find upholsterer who would make my roof finished so I can get my windows on.
-
Rookies mistake! I have used wrong holes. I used the ones with M8 thread, not the ones that you put the plastic backing pieces to the slots.
Problem solved I think, but I only had one of those plastic backing pieces.. I'll try to find some more from finnish toyota forum.
Now that I have solved the mystery of my head lamps I need to get the engine running with the new carb from 68' Crown :)
E: Or I just file the round holes to square and put the ebay adjustment screw plugs in..
-
Are there still 3 locating screws on front panel for the headlamp bucket? Mine was missing one on the drivers side that i had to weld a new mount on for otherwise there was not enough to hold it on...
No. Both sides have two adjustment screws and then theres spring behind to hold it. thats how I thought its supposed to be. Problem is that I need to get the bucket to rotate so it would not hit to the chrome trim holding brackets.
Oh and the bucket only haves holes for two adjustment screws! Thats how it's supposed to be, right? Then a small hole for a spring?
-
Got the front panel today! :)
Still no progress with the headlamp.. does anyone have any idea why the lampbase does not fit? :S


KE10 with KE20 discs
in KExx Corolla Discussion
Posted
Hello,
I've had the ke20 disc brakes on my ke10 for years. Last year the bearings went kaboom and I just threw in a new set of ke20 bearings. Now I was just reading the wiki conversion page for fun and noticed that I would've to use the ke10 back bearing on it.. What is the reason for this? It seems to work fine but there has to be a reason.