

ChrisGT
-
Posts
116 -
Joined
-
Last visited
Content Type
Profiles
Forums
Events
Gallery
Blogs
Posts posted by ChrisGT
-
-
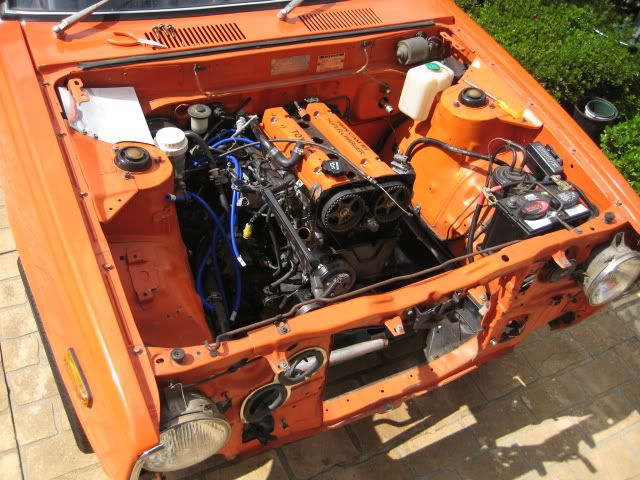
well its back on the road now....got the motor back last weekend. Put it all in, in one day. Then it wouldnt start!
Couldnt find the problem for a couple of days then figured out that my mate put the exhaust cam in up side down, once i fixed that it started with no problems.
Now I'm just starting to run the motor in.
-
Roughly:
Rings and head gasket (Toyota)- $250 trade
Big end barings (ACL)- $50 trade
Rod bolts (ARP)- $90
Valve Stems- $30
Seals (Toyota)- $100 trade
-
Time for an update:
I just got my motor lightly rebuilt. Due to all the smoke it was blowing.
So i pulled the motor out of the car and took it to my mate how rebuilds motors.
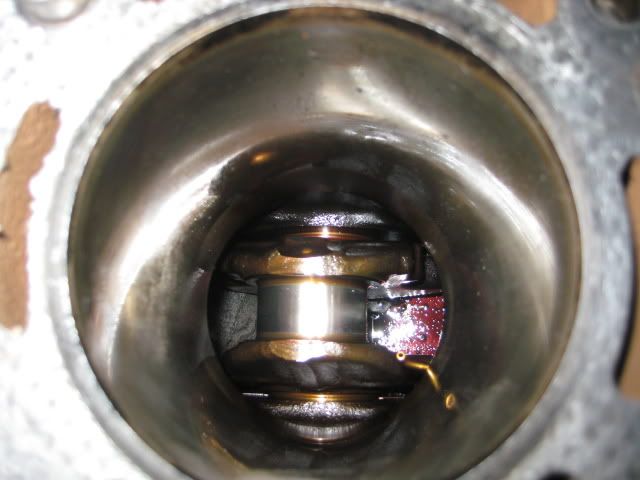
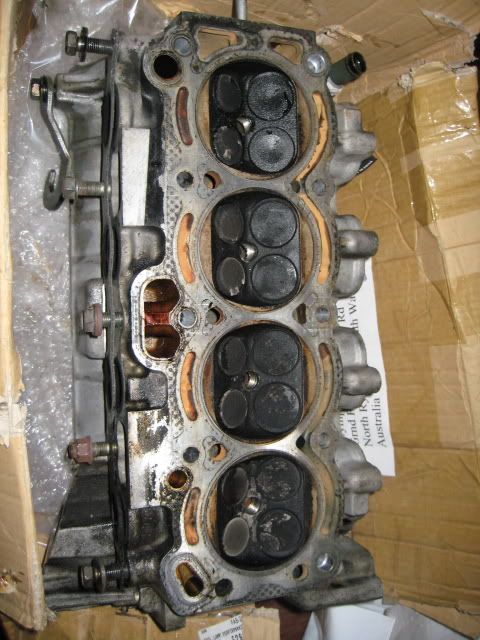
He stripped it down to see what the problems are, he found that the piston rings were stuffed- the bottom oil ring was seized, the big end bearing were starting to ware down to the copper, some of the rod bolts were stretched and the valve stems needed doing.
The bores were still very good with light scuff marks
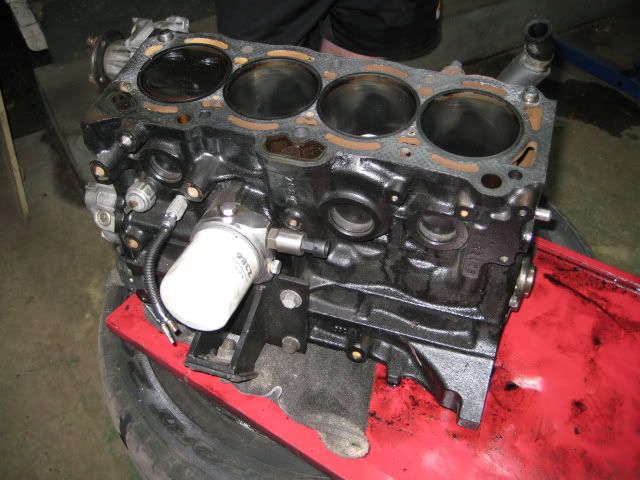
He gave them a light hone and checked the clearances when he put the new piston rings in. The pistons were in very good nick too.
The valves had alot of build up on them from burning oil for a while, this was cleaned before re-assembly
Here are is one of the rod bolts and the bearings
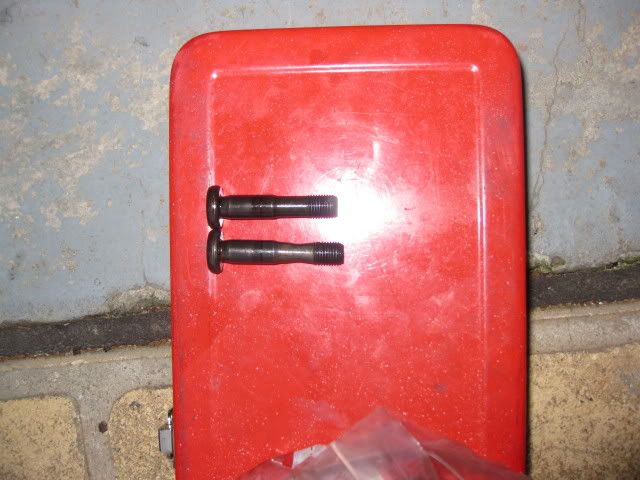
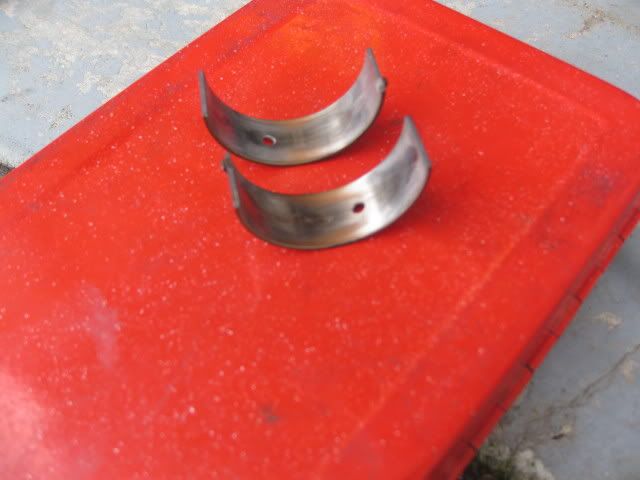
So in the end i got the following done:
New piston rings, Lightly honed the bore, new head gasket, new valve stem seals, new big end bearings, new rod bolts, and some new seals- rear main, front main, cam seals, CAS o ring.
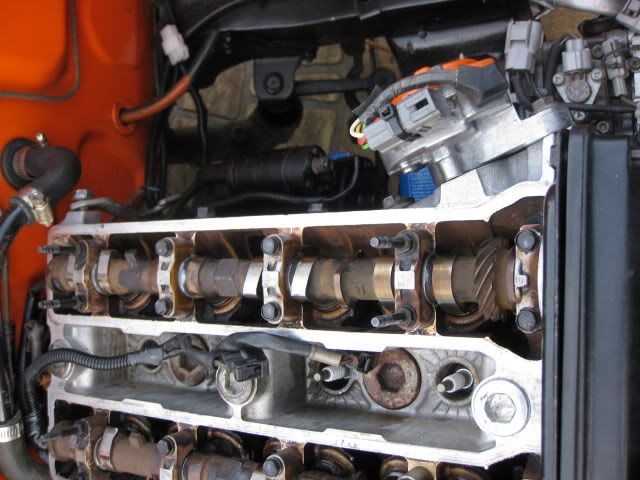
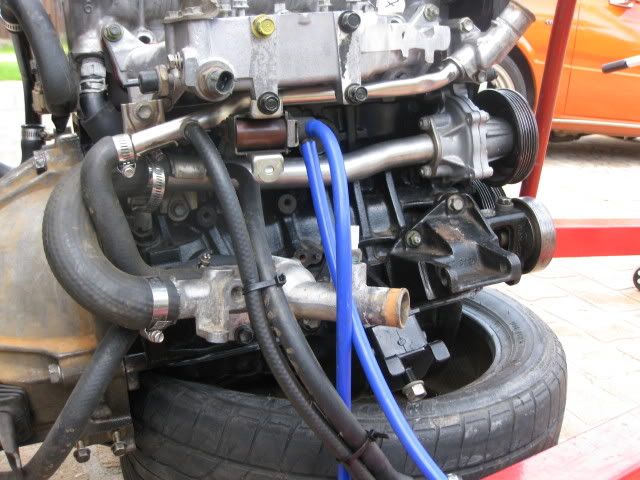
Just some other random pics showing my cams cleaned and water system concerted to RWD:
-
DECOOP is now sold and out of my hands! :dance:
didnt even advertise it.
-
yeah need to keep it in one piece....the 20 is forsale now so it will be my daily till i finish my hilux (1uz).
Jono was that for full comp? Coz "Just Car" only valuated mine at $6800 and would cost $950 per year.
-
get up early ay......i see you have been talking to Kev! hahaha
Na i didnt make it as i needed the time to finish the 35....and good news:
It passed engineering today! :bash: Straight away John made up my cert for me to take home. I didnt think i would get it so soon, so on the way home i went past a mechanics and asked if they had time to do a blue slip. Which they did and it also passed that. So i thought since i had the whole day off might as well rego it. So now after many years and spending about $1900 today :o the 35 is regoed and back on the road! :y:
-
thanks mick, its costing $800....when John saw my car he mentioned how he did yours.
The only problem is that I wont be making the cruse as it wont be ready in time! :dance:
-
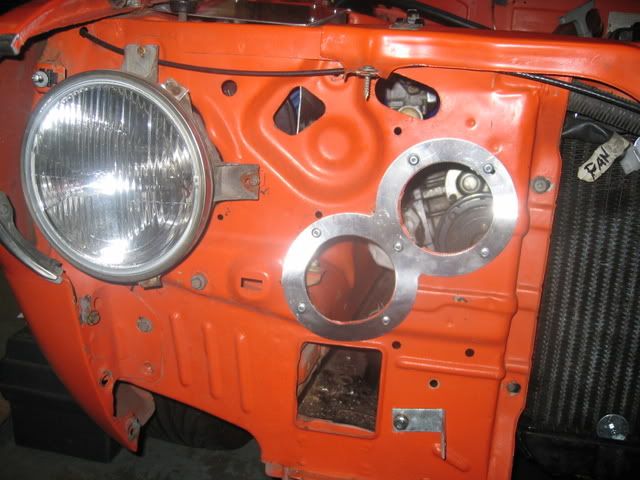
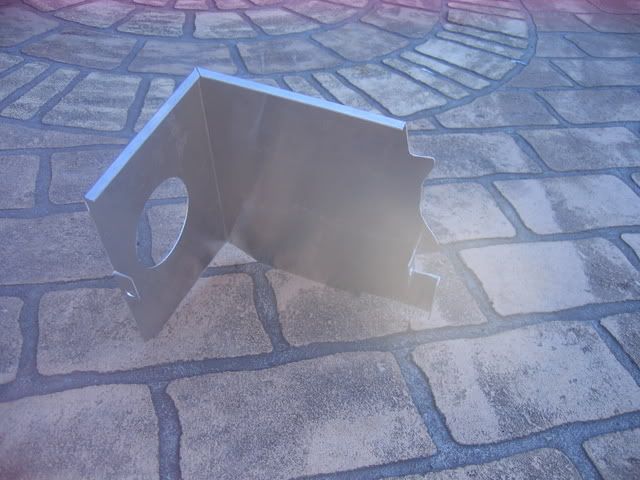
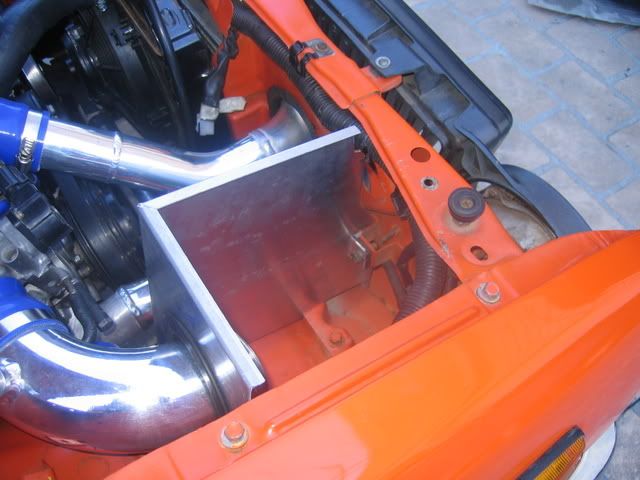
To reinforce where the holes for the intercooler pipe where cut into the rad support i designed a "8" shaped plate out of 2mm aluminum, got it cut out and i was able to pop riveted into place today:
Before: Was weak in the area between the two holes.
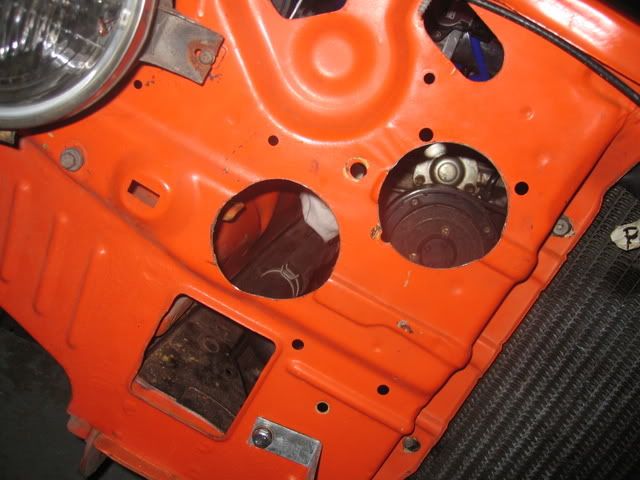
After
-
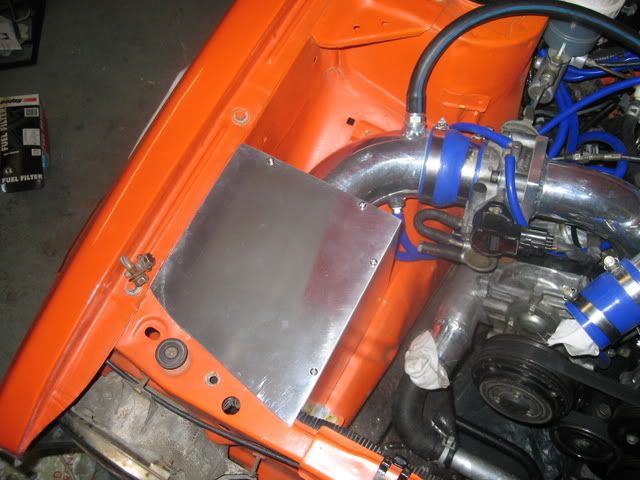
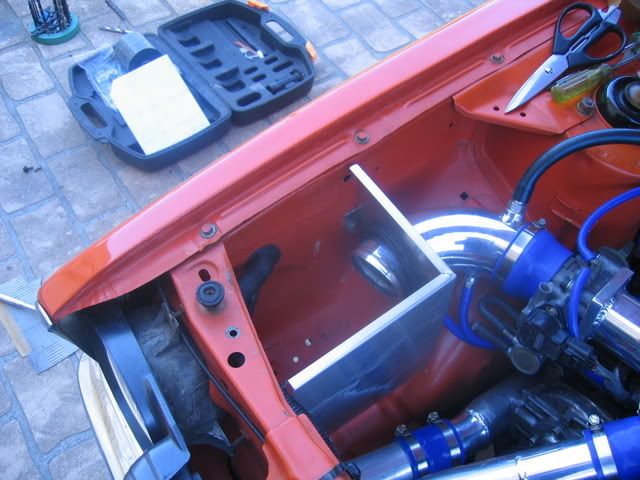
Went to see the engineer last friday. I'm using John V from Consulmotive. Brfore i saw him i fixed up a couple of things on the car. I made a lid for the airbox:
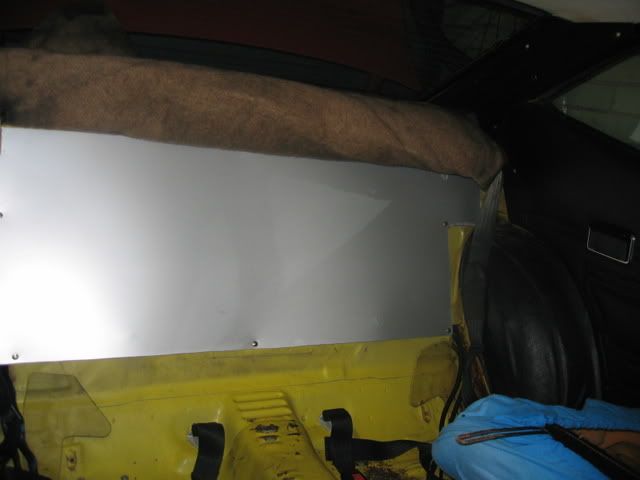
When talking to John on the phone i asked him if i need a shield around my fuel set up in the boot, all he said i needed was a sheet of steel or wood behind the back seat to block off the boot. This is because I'm going from the low pressure set up to the fuel injected high pressure fuel set up. So i cut a big sheet of 1mm steel to shape and screwed it in place:
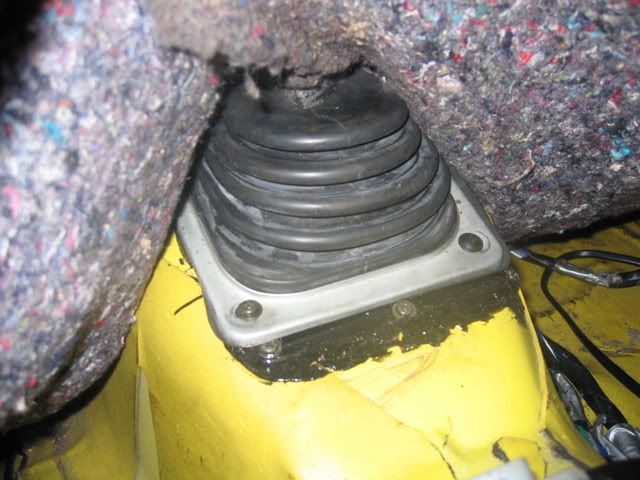
Also my gear boot for the shifter would not bolt to the gearbox tunnel, as the owner before me cut the hole for his shifter (when he put a 5 speed in) way too big. This is what it looked like before:
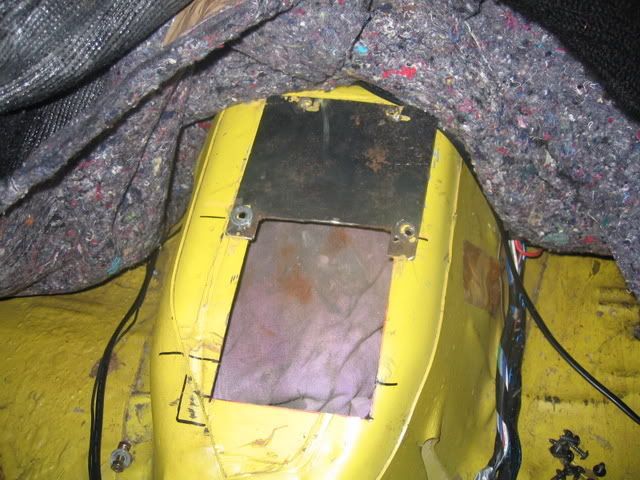
I cut some steel out and made a new hole for the shifter, and sealed around it:
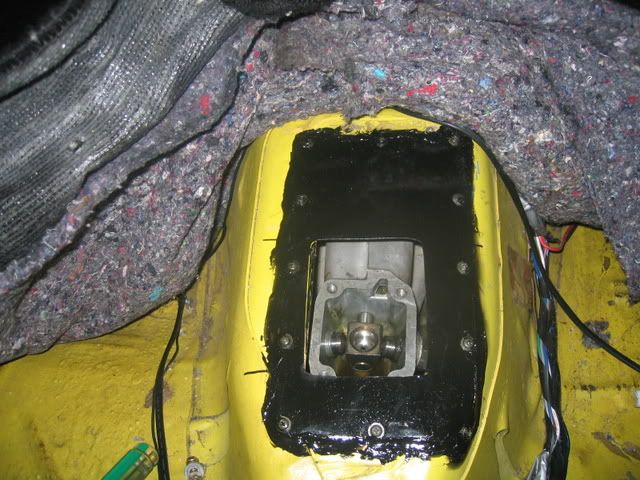
Now the gear boot had some steel to screw into:
So off to the engineer i went hoping that there would me no major issues with the car. Overall John was very happy with the quality of the conversion and only found some small things that i had to do to get it to pass.
The list he gave me to do is:
1. Put rear bump stops in.
2. Reinforce where the holes for the intercooler pipe where cut into the rad support. (Easy, pop-rivet a plate in)
3. Reinforce the front valiance where i cut it for the intercooler.
4. Use bolts to secure the surge tank not self tappers.
5. Move the surge tank away from the rear quarter panel (too close incase of impact)
So its all easy to do, everything else was fine. He did a sound test and i got 86db and went to 91db when i backed off the throttle.
I have already started fixing up the things on the list. I have pulled the front end off ready to make the plates for reinforcing, and i have finished moving the fuel set up.
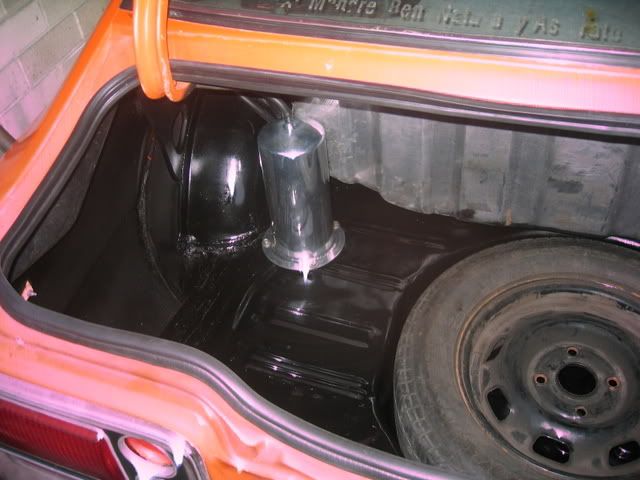
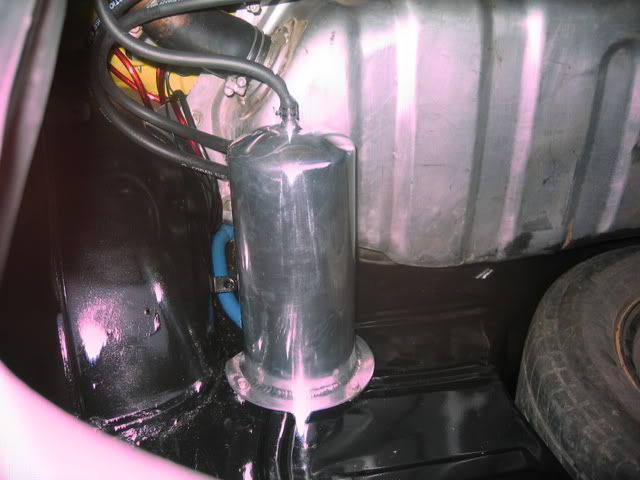
I like the fuel set up a lot better this way, i put the fuel pump just behind the tank near the surge tank outlet is. With this set up i get more boot space and will be easier when it comes time to trim the boot.
-
What you may want to for people using the T50 box, is use the original T50 gearbox mount as it bolts straight into the KE3X/5X. Bolt the box into the bolt holes on the tunnel closest to the rear of the car and set your motor off that. This brings the motor at a nice distance from the firewall for the 16V and weight distribution. This saves having to make a custom gearbox cross member.
don't think it will work for your 20V, because of the dizzy. Maybe you could use the Bolt holes closer to the firewall for the box with the 20V setup.
-
do you have the rear parcel shelf?
-
Dunno if you'd like the idea or not, but instead of putting a top on it you could put some rubber on the edge of the bit you made so it seals on the bottom of the bonnet. Then get some sort of little vent in the corner of the bonnet?
yeah i thought about that but i don't really want to cut a hole in the bonnet. I will be making a cold air duct to the box either from below the pod under the guard or by cutting a small hole just next to the head light feeding into the box.
-
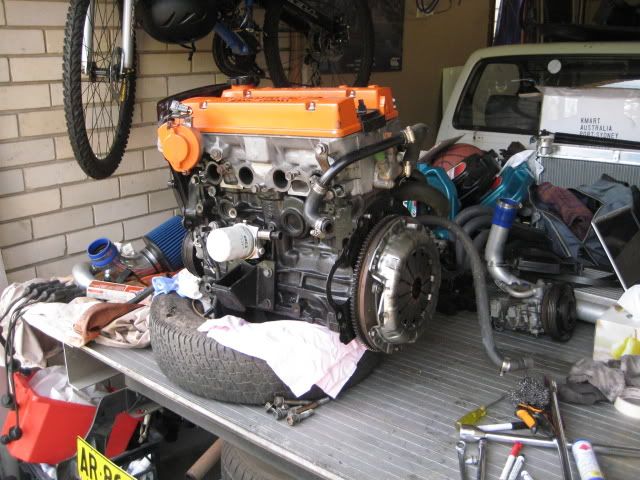
I have now got all my 90 degree silicon bends changed to mandrel bends, now the car idles and i also hooked up the factory cold start on the 100kw throttle body and she idles when cold!
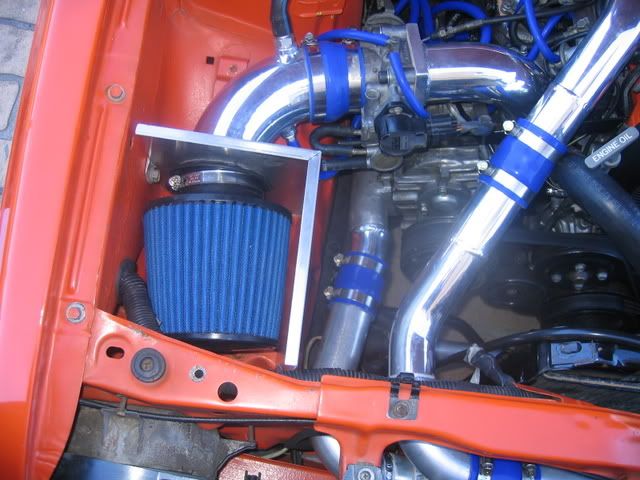
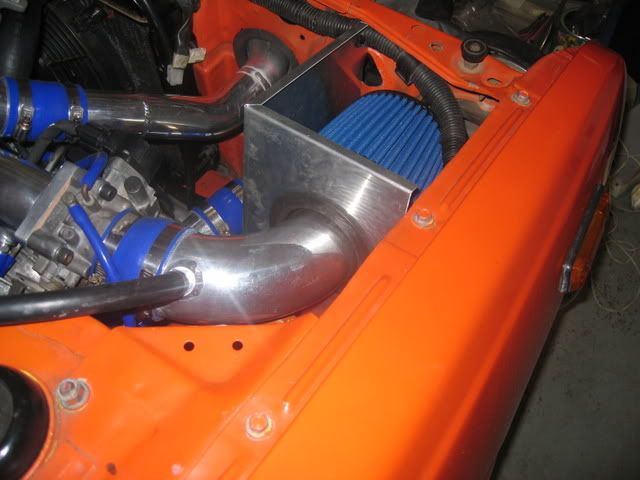
Today i built an air box for the pod filter out of aluminum. it was a very fiddly job trying to get it to fit tightly. This it how it turned out, i still need to polish it and make the top for it.
-
Love the strut bar mick.
Also i just noticed that your car is on the 3 of clubs in the Zooms packet of cards i got with my copy of Zoom.
-
standard ECU...anyone know what is the max boost i can run on standard ecu and injectors?
Will put it on the dyno next time there is a dyno day.
-
well i picked my up my tail shaft this arvo and was able to take the car for a quick spin. But havnt tested out the diff properly yet :P
But i did have the boost guage hooked up and my set up pulls around 12psi.
-
cars looking good mark, the wheels seem to suit your car alot better than mine. I think its because of the back pin strip.
-
Ah those pictures are UNREAL :D
whats next?
:yes:
Thanks for the comments guys.
Next is the tail shaft and handbrake cables, then i have to get my 90 degree silicon bends changed to aluminum ones as they collapse in, because they are after the throttle body. Then put the gauges in and bring it to the engineer.
-
yeah hopefully my car will be on the road by then!
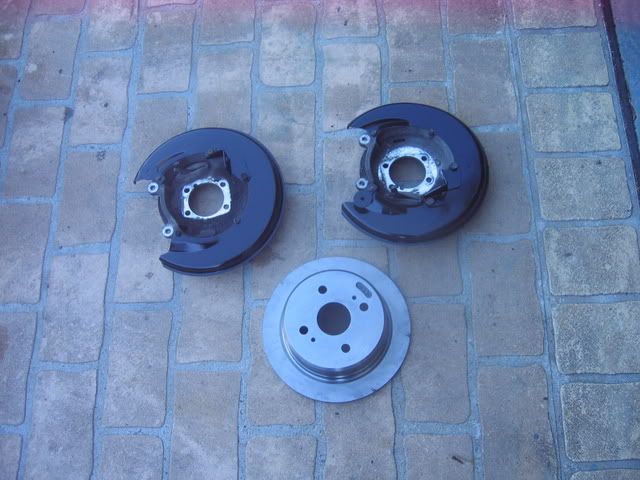
The other day i got some new U bolts bent up for me so i was able to bolt the diff down.
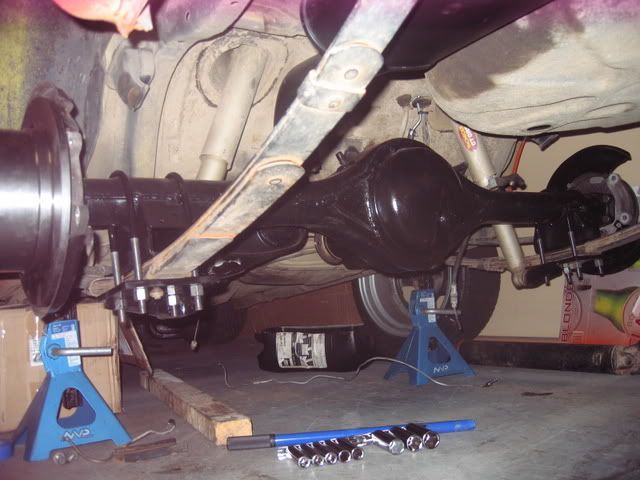
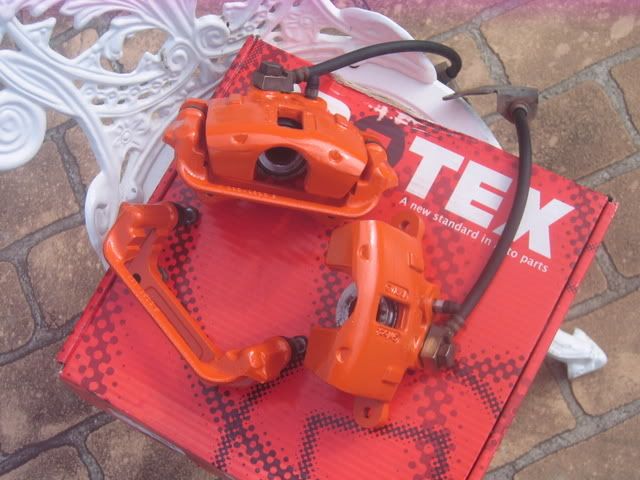
I cleaned up the rear calipers and gave them a coat of paint, then bolted them to the diff.
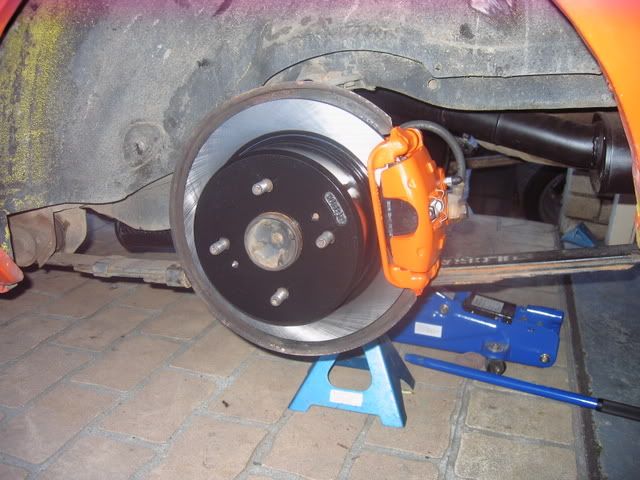
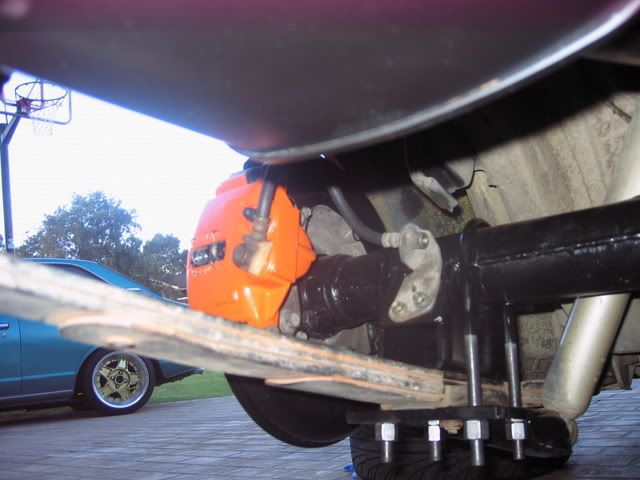
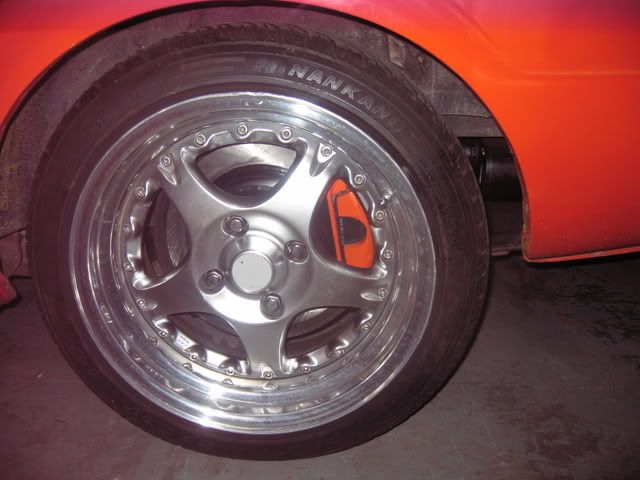
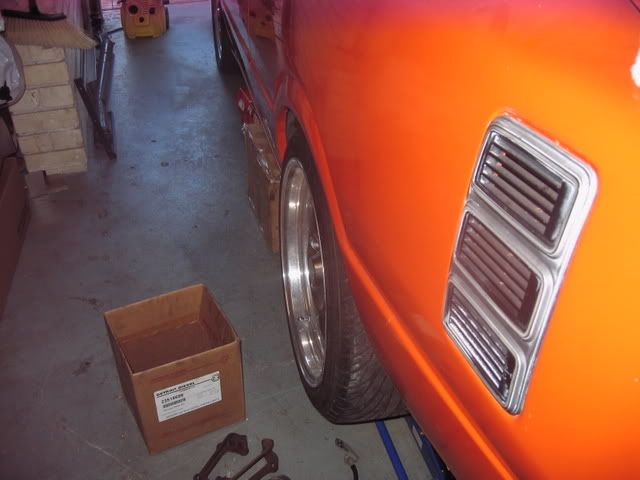
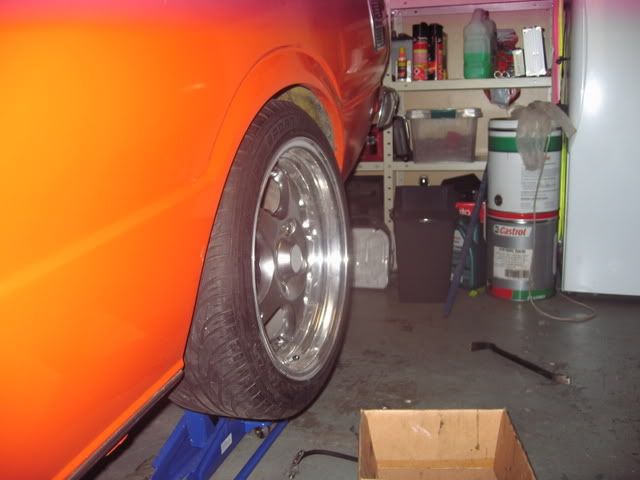
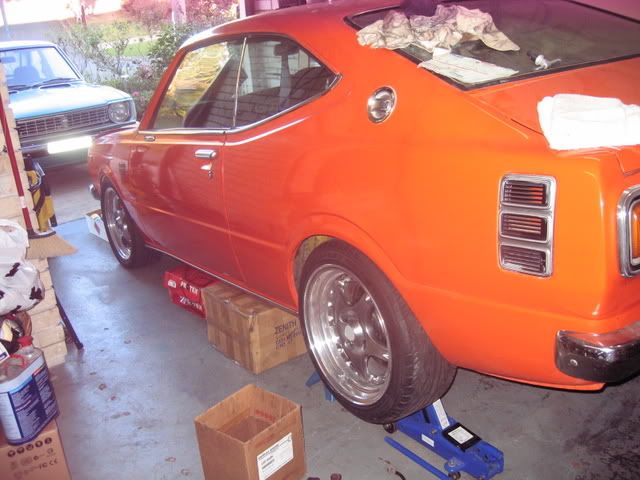
Now i got the car back on the ground, this is what it looks like now. I'm still going to drop the rear down a bit more.
Not much to go till i try and get it engineered...next thing to do is save some cash to get the tail shaft modded to suit the new diff.
-
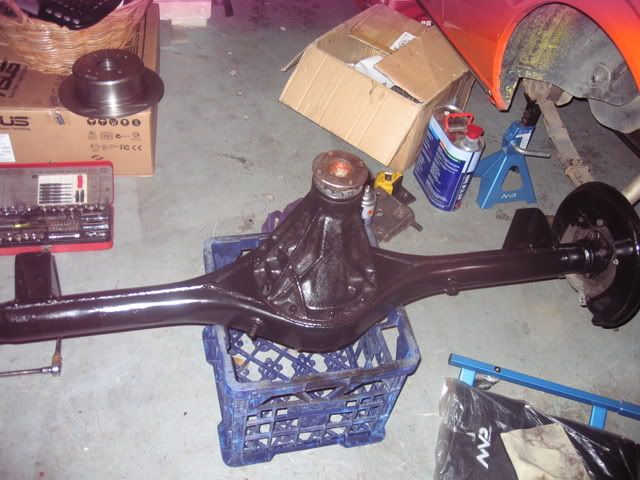
Finally getting the project moving again, I started putting my new diff together.
I got the MX13 diff and gridded all the mounts off it and dropped it off to Craft diffs who put on some saddle mounts and brake line brackets on. I brought it back home and cleaned up the housing and gave it a paint.
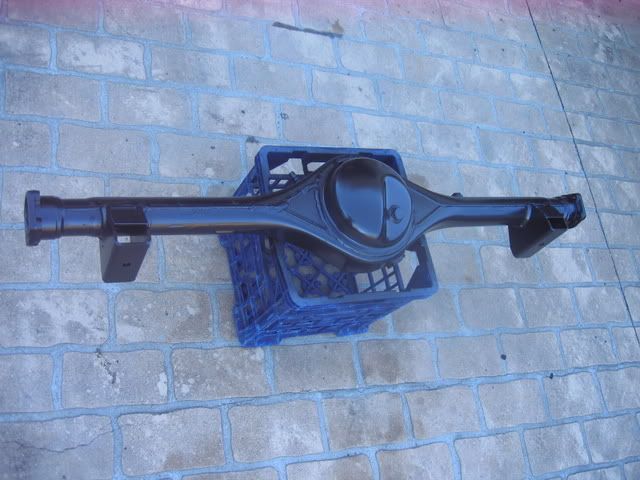
New bearings were put into the MA61 LSD center and the axles.
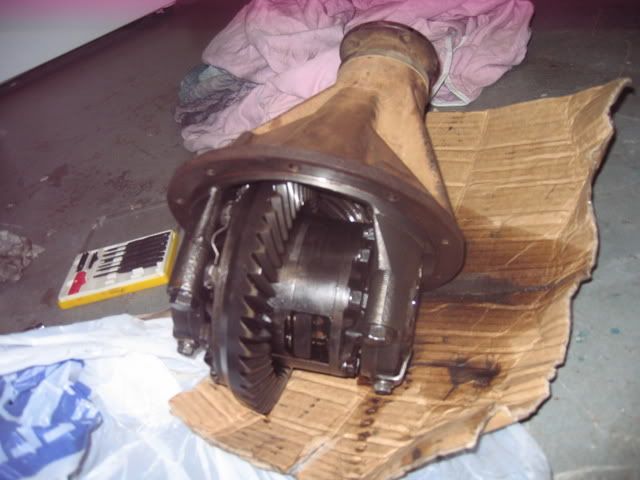
I also bought new discs, pads and caliper seal kit for the rear disc set up.
I bolted it all together ready to put into the car.
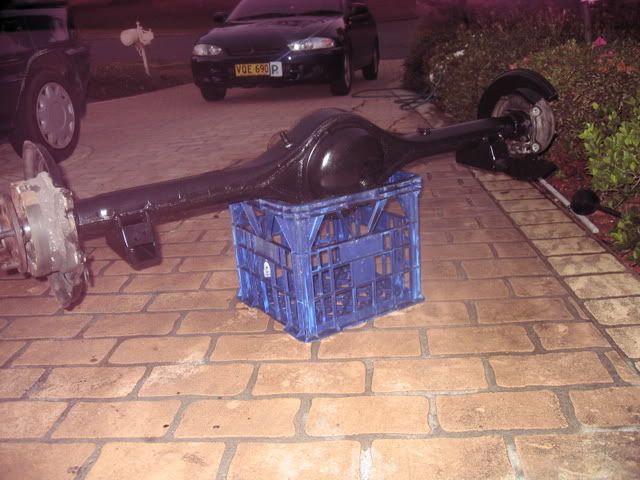
Since the diff is 45mm wider than the standard ke35 one it makes my wheels fill my guards nicely.
I have to buy new U bolts to suit the diff, so once i get them i should be able to get the car back on the ground. I'm also in the process of cleaning up the rear calipers to paint them the same colour as the front.
-
if your gonna upgrade your MC at anytime i belive its better to use the ke30 one, as the bolt hole spacing is the same as the pajero MC alot of people use when they run bigger brakes. Its also the same spacing as an ae71.
-
nice work on the power figure jono, so whats next for her?
-
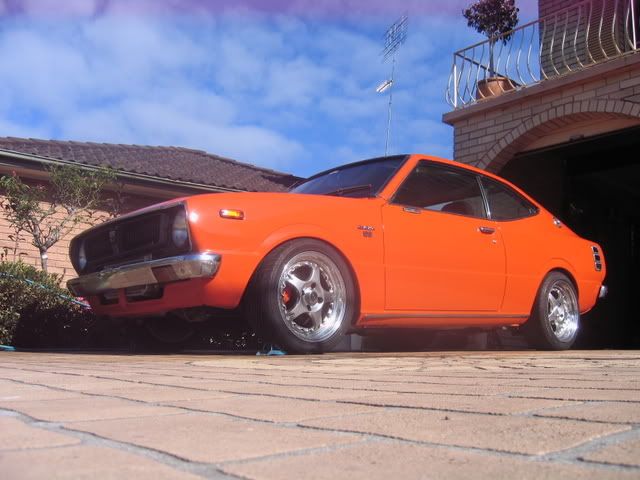
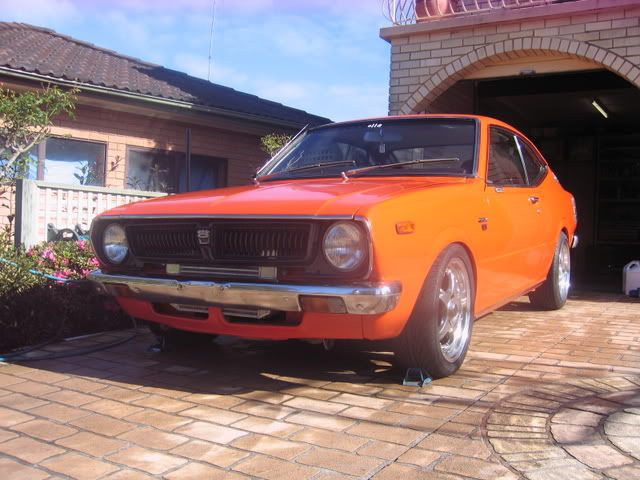
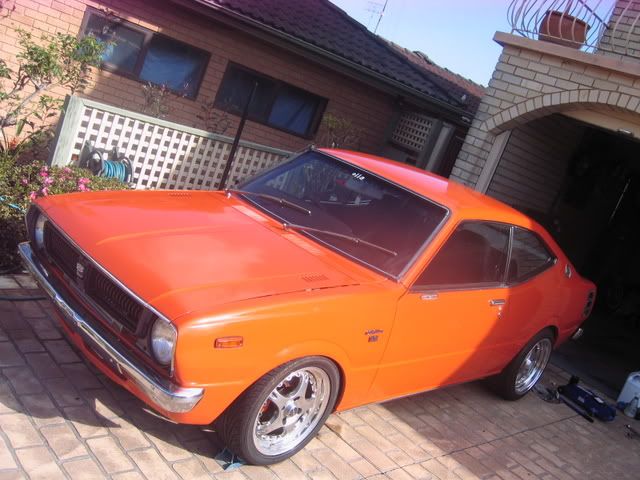
loving this car: great colour, great wheels, great conversion.
is that a slidey bar type digital tacho?
thanks mate, yeah the tacho is a digital tacho with a little LED shift light....good for when doing those burnouts! hahaha :)
-
thanks mate....i will be very soon, just seems thats everytime one is on my cars are always off the road for one reason or another!
Radrollaz Club Project Car
in Rollaclub Rides
Posted
well i can see from the photos whos house it is at.........ill come over and drink the beers :wink: